Recording Yourself
on a Windows
Here are some tips for recording your own webcam and/or screen. This would be for PRE-recording a segment, and then uploading that file, not for going live in the moment.
Be sure to check out our Presenter Resources to learn about optimizing your audio, lighting and video. You can always upgrade with a Studio In A Box.

WINDOWS (PC)
1) Open the ‘Camera’ App. This can be done by accessing the Start Menu and typing in ‘Camera’

2) With the Camera App open, open the settings tab by clicking the cog/gear icon in the upper left-hand corner of the window. Under ‘Video Quality’ ensure that you are recording at the highest setting possible. For most cases this should be ‘1080p 16:9 30fps’

3) If needed, choose which camera to use by clicking the Camera Switch icon in the upper right hand corner.

4) If needed, access the ‘Sound Settings’ options by accessing the Start Menu and typing in ‘Sound Settings’, then click the icon that pops up. In this window, under ‘Input’ you can change the default microphone and test to confirm that there is signal being received.


5) Select the video record function by clicking the icon shaped like a video camera . Press this camera icon again to start recording. When you have finished press this camera icon again to stop recording.

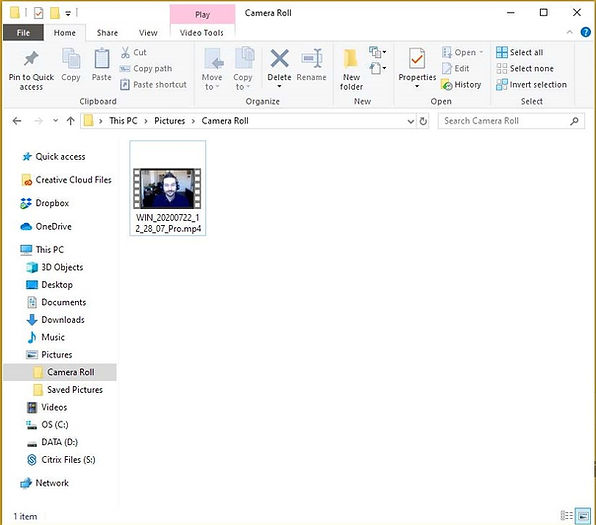
6) Your recording can be found by default in your ‘Camera Roll’ which can be accessed at the following file path: C:\Users\‘username’\Pictures\Camera Roll.